Upgrade your Honda Odyssey ATV with a durable Baja bumper following this step-by-step guide.
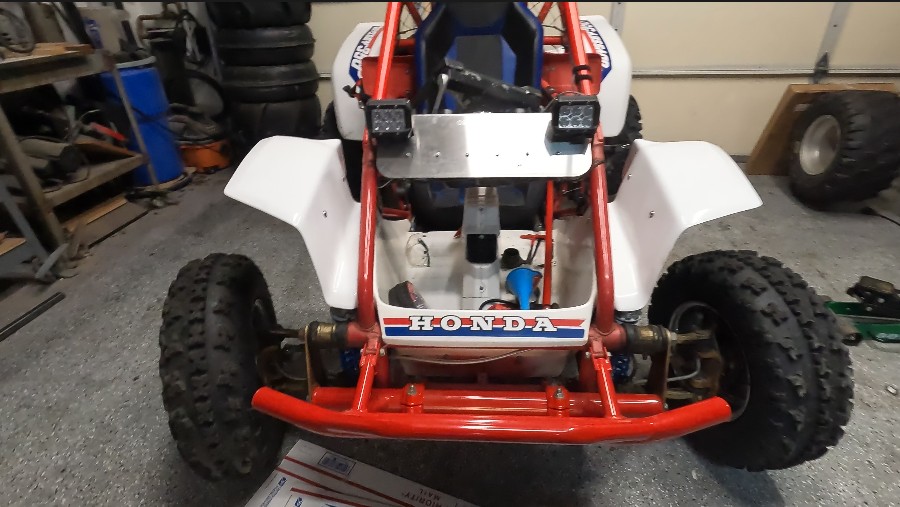
If you're an avid Honda Odyssey ATV enthusiast, you know how crucial a sturdy front bumper is for protecting your vehicle during off-road adventures. The stock bumpers often take a beating, getting bent or damaged from collisions with trees and other obstacles. Upgrading to an aftermarket Baja bumper not only enhances the durability of your ATV but also gives it a sleek, aggressive look.
In this guide, we'll walk you through the process of removing your old, damaged bumper and installing a new Baja bumper on your Honda Odyssey ATV. Whether you're preparing for an upcoming rally or simply want to reinforce your vehicle, this tutorial will help you get the job done.
Tools and Materials Needed
- Socket wrench set (10mm, 12mm, 14mm, and 17mm sockets)
- Wrenches (matching sizes for sockets)
- Impact driver (optional but helpful)
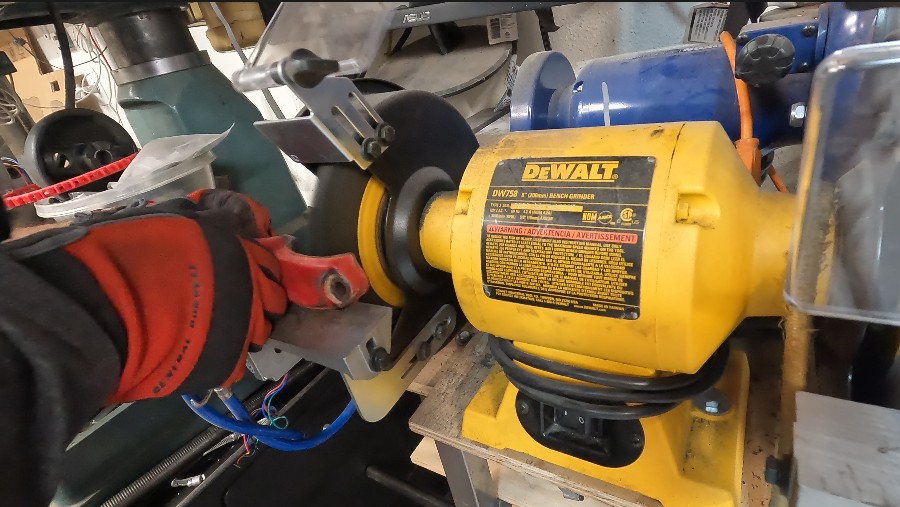
- Wire brush or grinder with a wire wheel attachment
- Protective gloves and eyewear
- Paint (optional, for touch-ups)
- Paper or cloth (to protect surfaces)
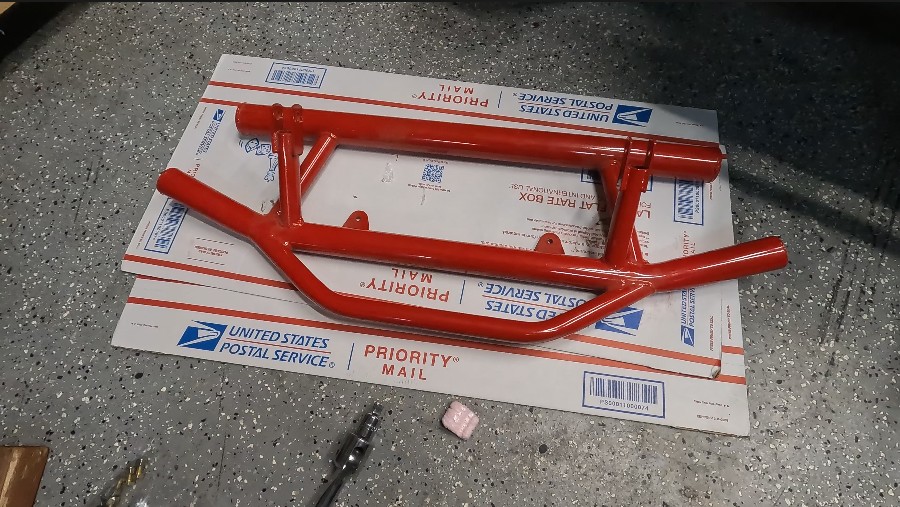
- Replacement Baja bumper kit (including mounting hardware and skid plate)
Step-by-Step Installation Guide
Preparation
Before you begin, park your ATV on a flat surface and ensure it's securely positioned to prevent movement during the installation.
2. Remove the Old Bumper
Locate the Mounting Bolts:
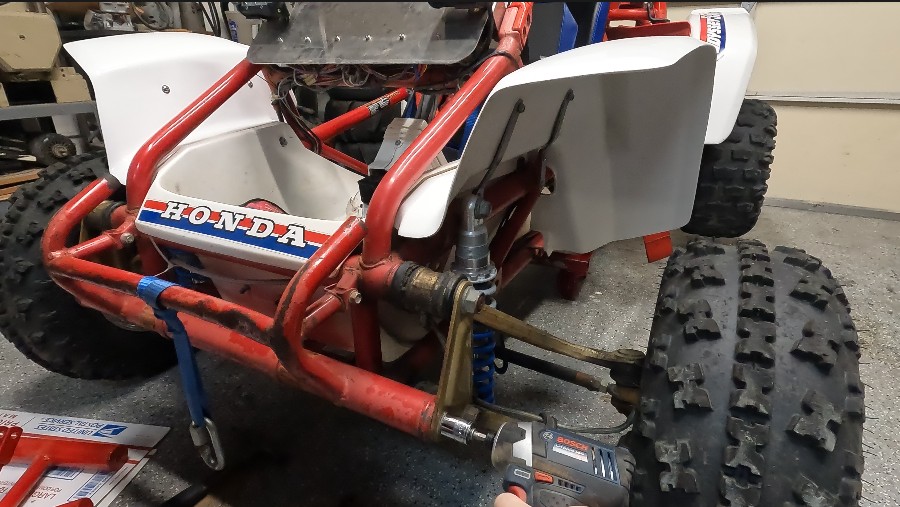
- There are three bolts on each side of the bumper (total of six) that secure it to the frame.
- Additionally, there are two front bolts and two small 12mm bolts underneath.
Remove the Side Bolts:
- Use a 17mm socket to loosen and remove the three bolts on each side.
- The bolts may be tight due to factory torque and corrosion, so apply penetrating oil if necessary.
Remove the Front and Underneath Bolts:
- Use a 12mm socket to remove the two front bolts.
- Locate and remove the two smaller bolts underneath the bumper.
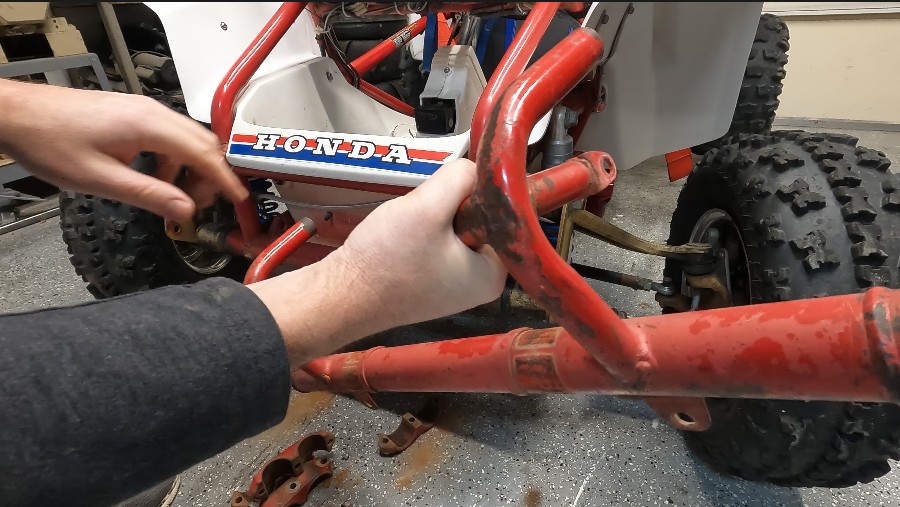
Detach the Bumper:
Once all bolts are removed, carefully pull the bumper away from the ATV.
Be mindful of any straps or accessories attached to the bumper.
3. Clean and Prepare Mounting Hardware
Clean the Bolts and Nuts:
- Use a wire brush or grinder with a wire wheel attachment to remove rust and debris from the bolts and nuts.
- Wear protective gloves and eyewear during this process.
Inspect Threads:
- Check the threads on all bolts and nuts for damage.
- Replace any hardware that is excessively corroded or stripped.
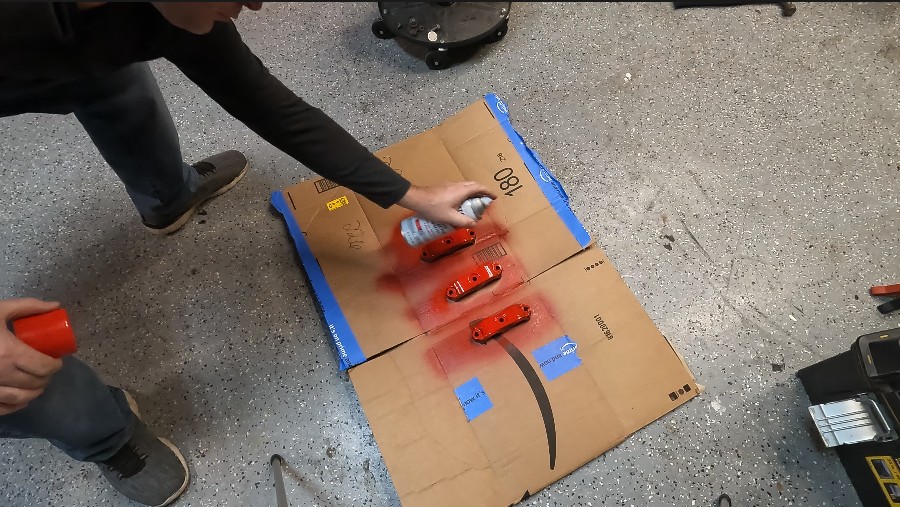
Paint Hardware (Optional):
- Apply a coat of paint to the cleaned hardware to prevent future rust.
- Allow the paint to dry completely before proceeding.
4. Install the Baja Bumper
Align the Bumper:
- Position the new Baja bumper in place, aligning it with the mounting holes on the ATV frame.
Adjust Mounting Tabs (If Necessary):
- If the mounting tabs on the bumper are too tight, gently widen them using a wrench.
- Protect the bumper's finish by wrapping paper or cloth around the tabs before adjusting.
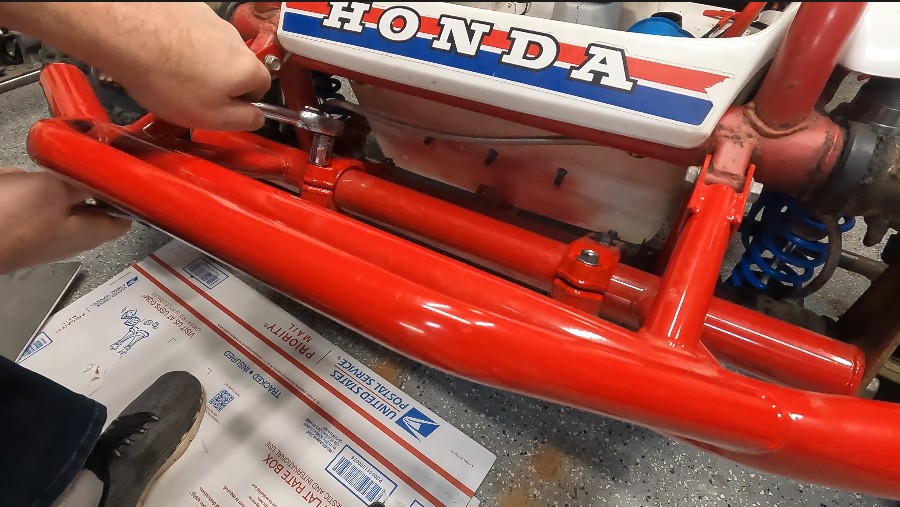
Attach the Side Bolts:
- Insert the 17mm bolts through the aligned holes on each side.
- Hand-tighten the bolts to hold the bumper in place.
Install the Front Bolts:
- Align the front mounting holes and insert the bolts.
- Ensure all bolts are in place before fully tightening any of them.
Tighten All Bolts:
- Use a socket wrench to securely tighten all bolts.
- Start with the side bolts, followed by the front bolts.
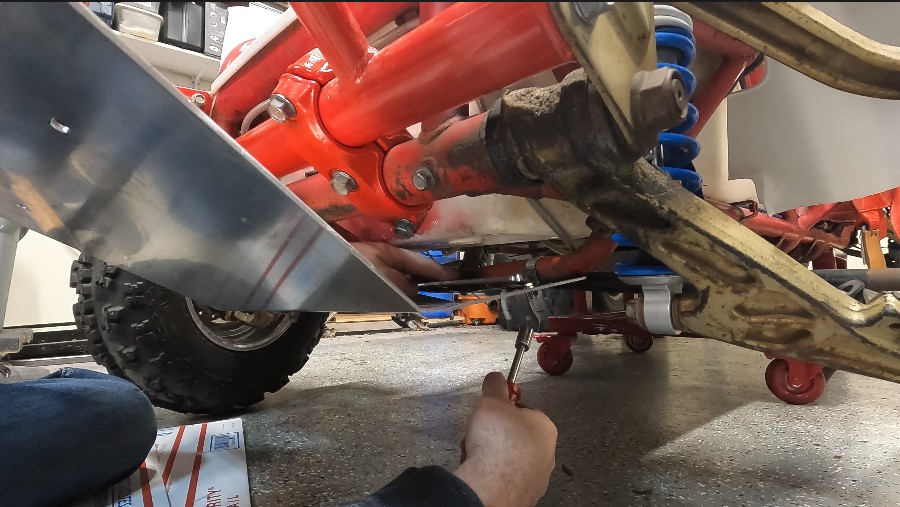
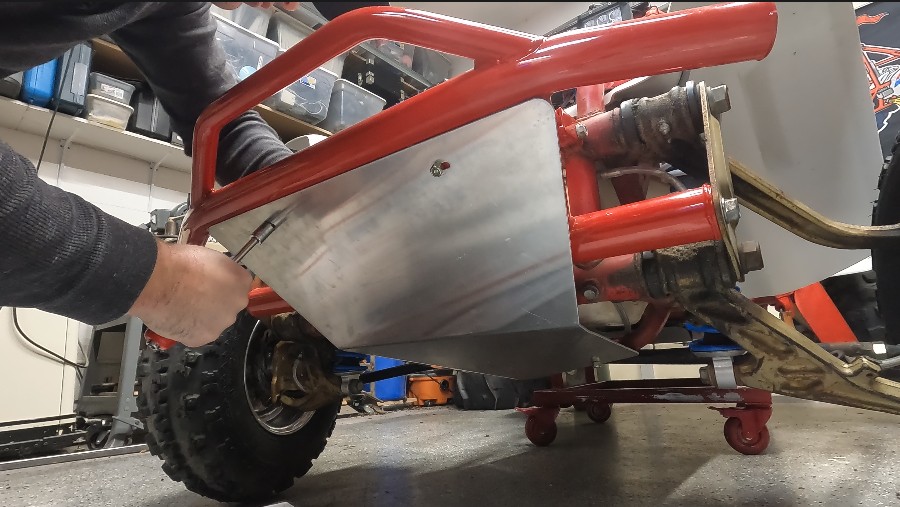
5. Install the Skid Plate
Prepare Mounting Clips:
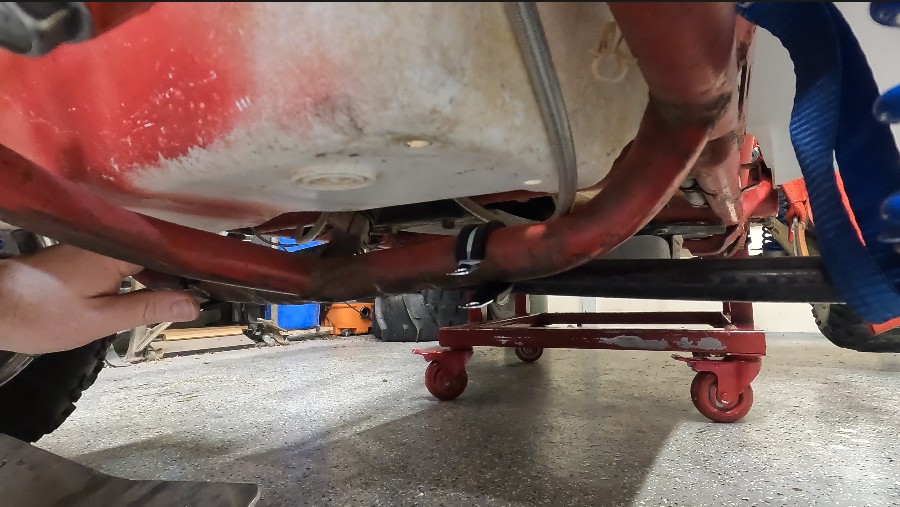
- The skid plate comes with mounting clips that hook onto the lower frame.
- Remove any rubber pieces from the clips if they prevent proper fitment.
Attach Mounting Clips:
- Hook the clips over the frame rails where the skid plate will be secured.
- Adjust the clips to align with the skid plate's mounting holes.
Position the Skid Plate:
- Place the skid plate under the bumper, aligning it with the mounting clips and holes.
Insert Mounting Bolts:
- Use the provided bolts to secure the skid plate to the clips.
- Insert the bolts from the bottom up, with the nuts on top for better clearance.
Tighten Bolts:
- Use a wrench to tighten all skid plate bolts securely.
6. Final Touches
Check All Hardware:
- Ensure all bolts and nuts are tightened properly.
- Verify that the bumper and skid plate are securely attached with no loose parts.
Seal Unused Holes:
- If there are any unused mounting holes, insert bolts to prevent debris and moisture from entering.
Clean Up:
- Wipe down the bumper and surrounding areas to remove fingerprints and smudges.
Conclusion
Congratulations! You've successfully upgraded your Honda Odyssey ATV with a new Baja bumper. This sturdy addition not only enhances the vehicle's appearance but also provides increased protection during your off-road excursions. Regular maintenance and checks will ensure your bumper stays in top condition, ready to handle whatever the trails throw your way.
Additional Tips
- Fitment Issues: If you encounter alignment problems during installation, double-check that all mounting tabs and clips are correctly positioned.
- Hardware Orientation: For optimal clearance, especially when attaching the skid plate, insert bolts from the bottom up with nuts on top.
- Routine Inspections: Periodically inspect the bumper and skid plate for signs of wear or loose hardware, tightening bolts as necessary.
- Future Projects: If your old bumper is salvageable, consider repairing it by welding new bars or sections as a personal project.
