Going to Pismo Beach with a Honda Odyssey - Part 1
Step One: Find Friends to Go With
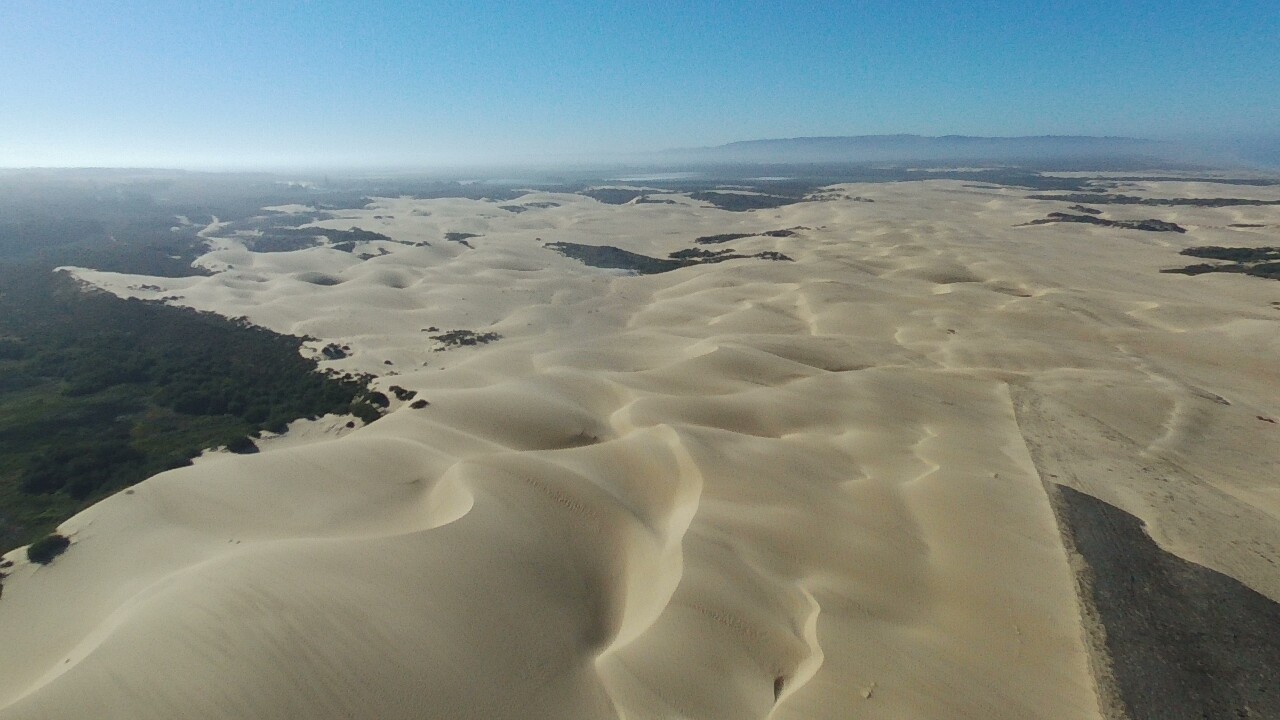
The dunes are a great experience and while you can go by yourself, it really is a trip worth going with friends for a couple of reasons...
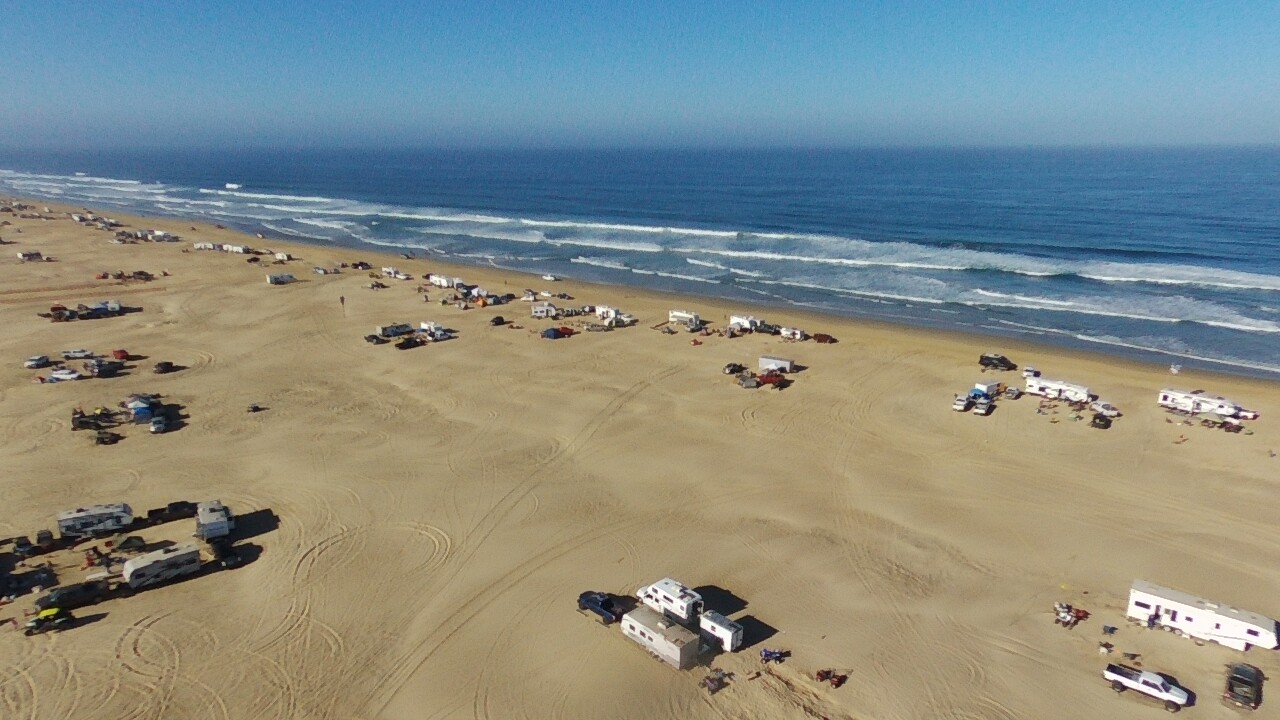
The first being that in order to get to the campsites, you have to drive six miles on the beach. If you were smart and timed your arrival with the tides being low then you should at least make it to the camping mile markers. However as soon as you turn from the hard packed sand to go up to the campsites it turns to soft soft sand. If you aren't experienced in driving in the sand, more likely you will get stuck. Having a friend with another vehicle is always helpful when trying to get unstuck.
The second reason you want to go with friends is because the dunes riding area is large. On busy times if you run into trouble, generally there will always be someone nearby who is usually ready to lend a hand if you need it. On slower periods though, there are sections of the dunes that are pretty remote and getting into trouble out there could mean a long walk at least till someone comes by. Safety in numbers.
Step Two: Book Reservations Months in Advance
Oceano Dunes SVRA is popular, very popular. If you are wanting to go on a major holiday, you have to set your calendar for 6 months in advance, wake up early and book as soon as you can. We scored reservations for 3 nights for New Years six months out to the day. All of those passes were gone by 8am the day the passes opened. If you are going on weekends, you still need to book several months out, especially in the summer. Weekdays on the other hand you can probably book just a couple of weeks out in most cases.
Step Three: Know the Tide Schedule
Camping and riding at Pismo requires driving on the sand for nearly 6 miles. The road is actually the beach and the best time to drive on the beach is just before low tide. This will put you on the hard packed sand and make driving easy. While it is necessary to air down your tires, if you arrive around low tide you can drive the six miles on fully inflated tires saving wear on them.
Step Four: Pack for the Trip
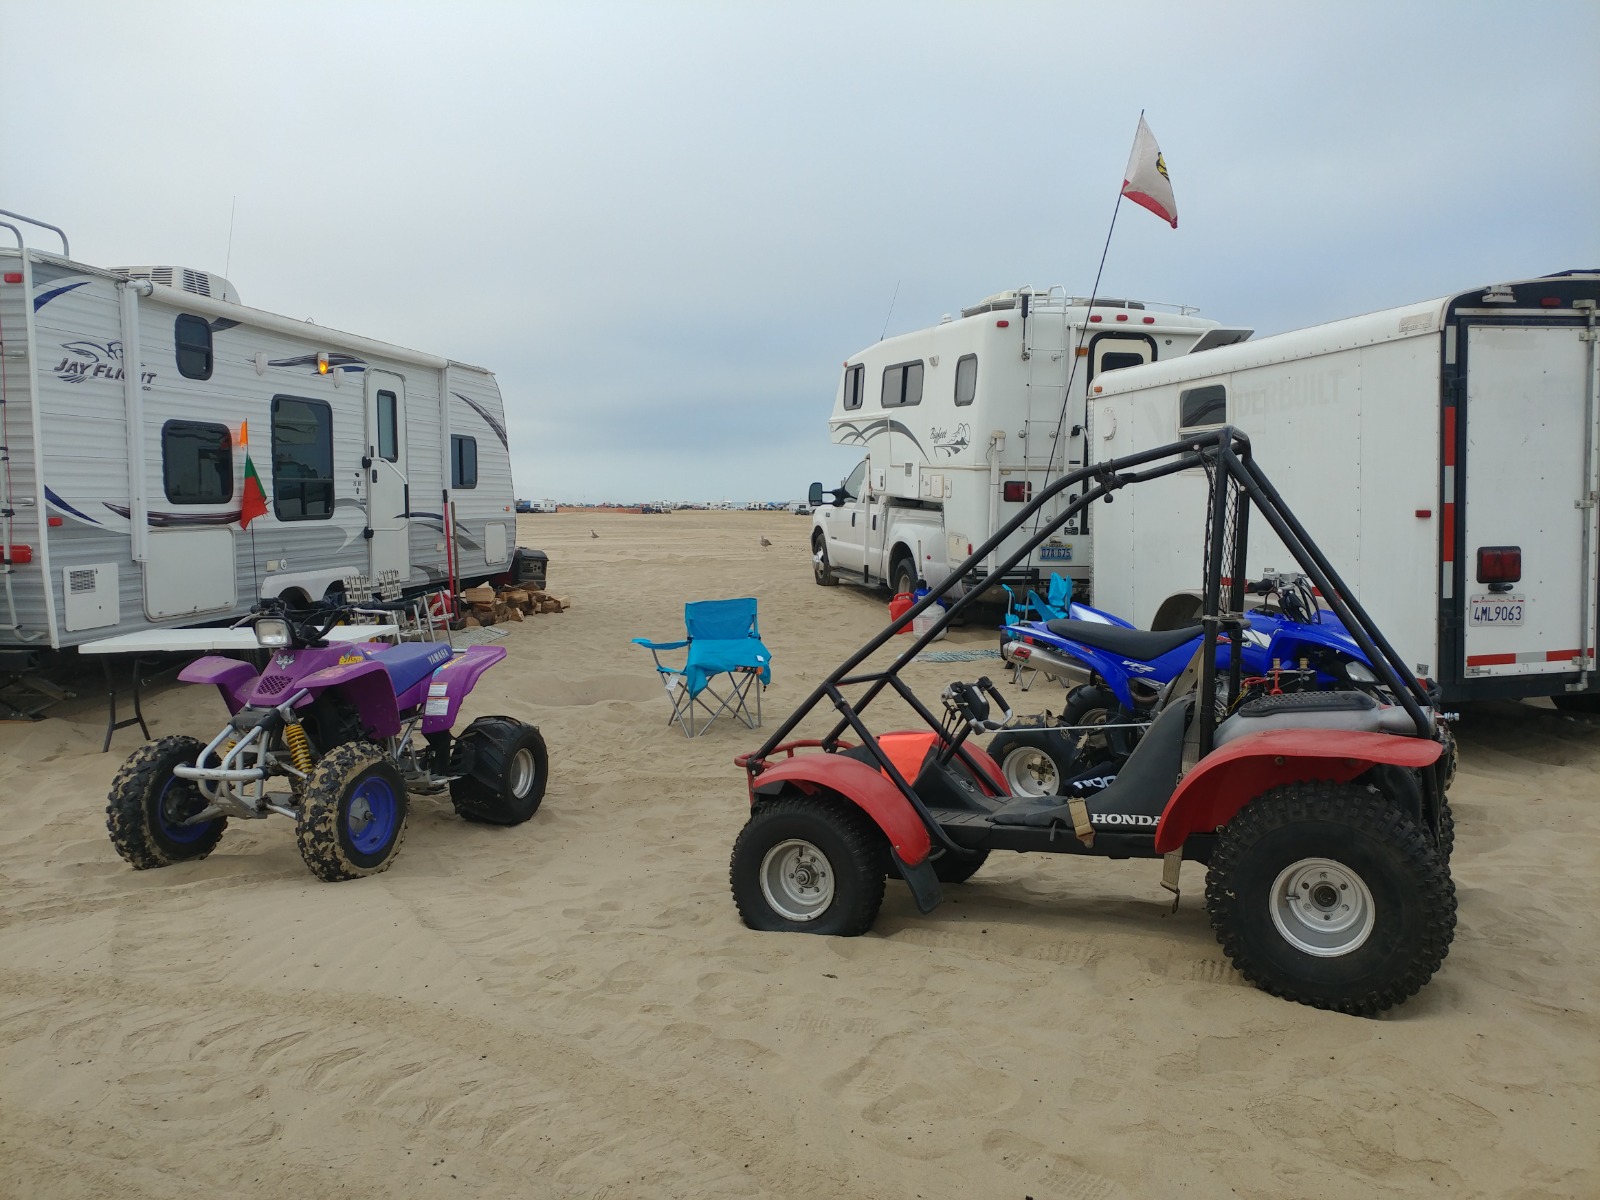
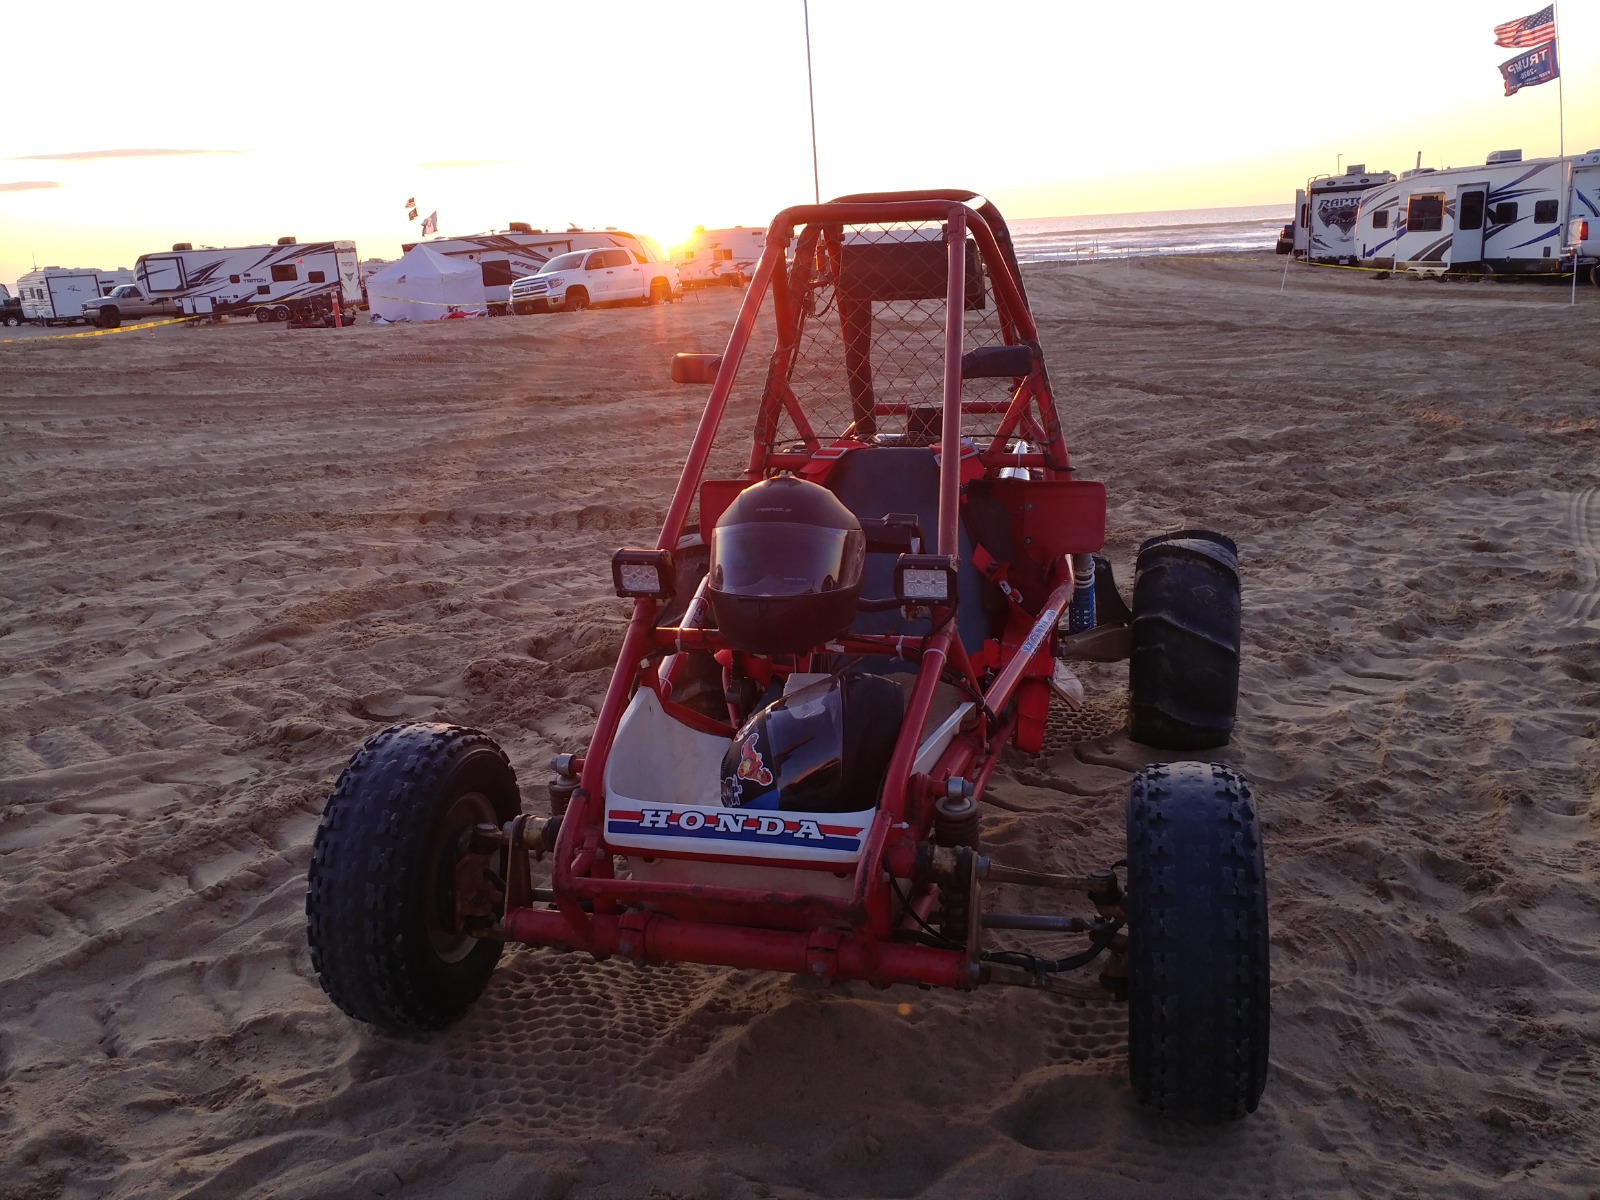
Everyone has their camping style and what they bring but when it comes to a sand dune trip, things can be a little different. You will want paddle tires for your rides if you have them (highly recommended though not required). For your RV, bring extra water and an air compressor if you have them. Many people bring boards to place along the wheels of their trucks and RVs to create a wind block and keep the wind from digging under your tires while parked. Also factor in that you are six miles from town and if you deflated your tires to drive in, you will need to inflate in order to drive on the streets again. Quick trips in town might not be so quick.
Step Five: Arrival
If you did your homework and checked the tide schedule, you arrived about an hour or two before low tide. Why before you ask? Because if you arrive at low tide, it just means that the water is coming in and if you get stuck you are working against the clock to get unstuck before the water comes back in.
When you get to the guard shack, you will be asked to show your reservation. Make sure you have it handy as the traffic can back up! Once through the gate, drive down the ramp and onto the beach. This part of sand is generally pretty hard packed and you shouldn't need to air down your tires just yet. If it is low tide you should be able to drive the six miles down the beach without airing your tires down. On the otherhand, if you arrived near high tide, air down as soon as you pull onto the beach.
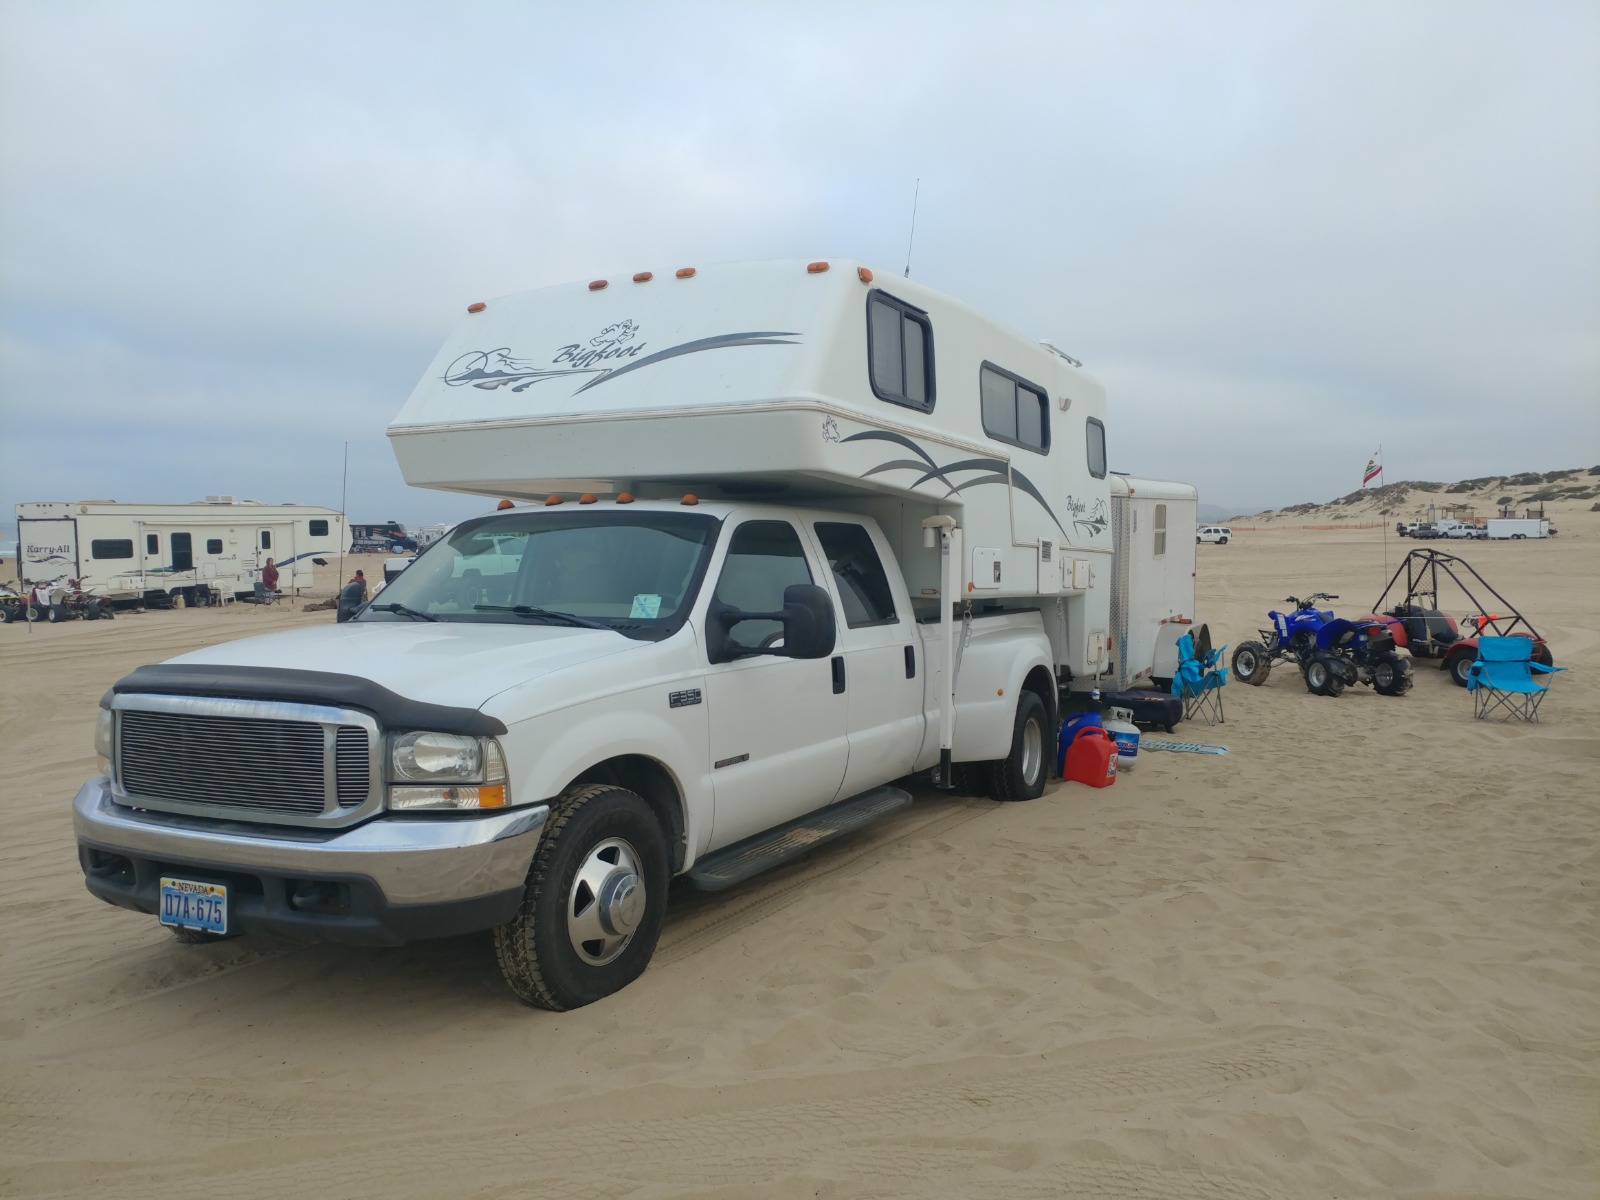
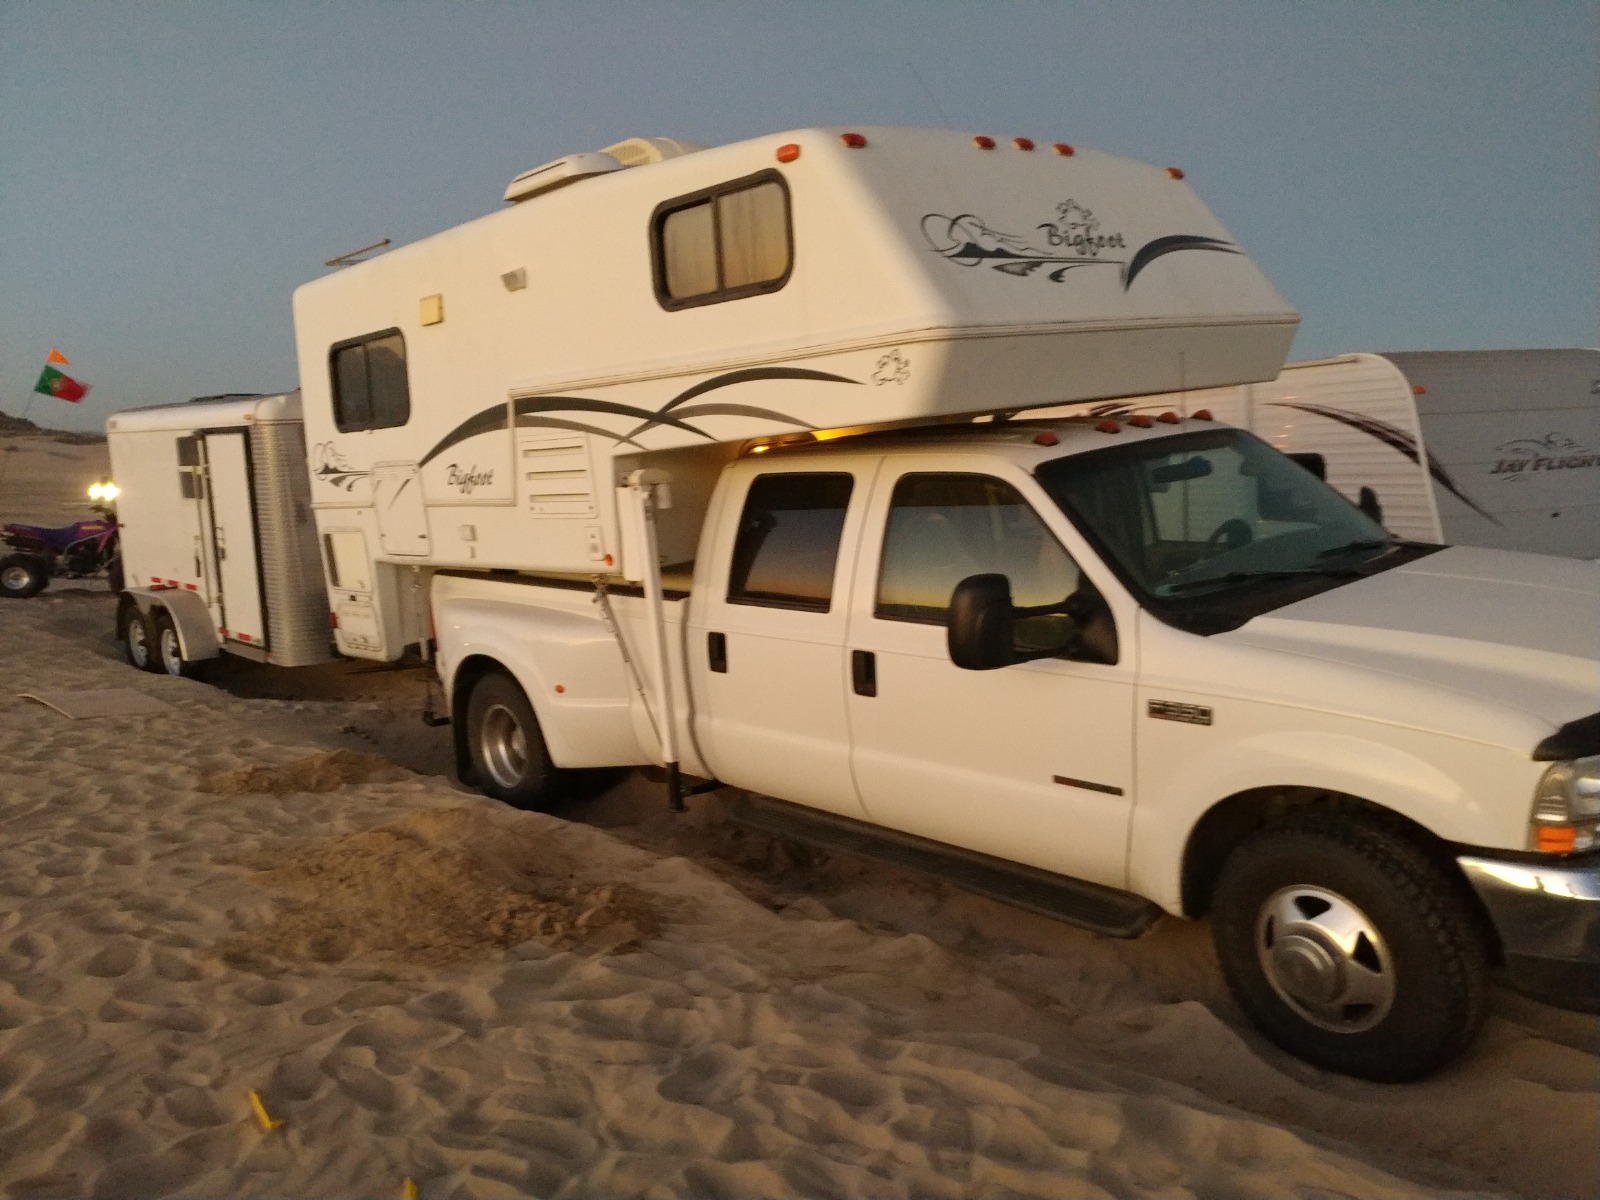
How much should you air down? That depends... For a 4X4 vehicle, you might need to go down to maybe around 30psi if you don't have a lot of weight on it. For my own rig (a 2WD 1999 Ford F350 7.3 Dually Quad Cab with a 4000lb Big Foot Camper and Trailer in tow) I air down to 15 psi. Even with 2WD drive, the only time I ever got truly stuck was when I didn't air my tires down low enough. So no, you don't need a 4x4 truck to drive on the beach.
One word of caution! There is a seasonal creek that you will have to drive through. If it is high tide it can be as deep as 2' or more! If rained recently (or is raining) and is high tide, you will be in for a white knuckled drive. Best to wait until low tide and the stream will only be a few inches deep as it wanders to the ocean.
Step Six: Find a Campsite
In my experience and because of the drive time, we generally arrive at Pismo in the dark. This can make finding a campsite challenging. What we found the easiest to do is to drive up to around mile marker 5 or 6. You will see a LOT of people camped right on the water line. These are generally people with larger rigs that are worried about getting stuck in the deeper softer sand inland. If you didn't air down yet when you get to the camping area, now is the time to do it. Then, unload one of your ATVs and send a scout to go look for a suitable location. There are drive in lanes generally close to the outhouses that will be very busy all day long. Avoid these places. The better locations will be halfway between mile marker 5 and mile marker six approximately 300 yards from the water. This will get you far enough away from the constant traffic on the beach.
Once your scout locates a campsite it is now time for the most challenging part, driving into the soft sand to get to the site. If your scout did their job well, they will have a clear route to get to the site that doesn't require steering around other people. The trick to driving is to build momentum and keep it. That means a medium and consistent throttle and a steady 5 to 10 mph. Don't floor it, the fastest way to bury yourself is to spin your tires! Be steady on the turns, nice wide arcing turns are best so your not pushing sand with your front tires. Keep that momentum up and if you have to come to a stop, only do it on level or downward sloping sections. If you do it right, your rig will ride above the sand instead of trying to push through it.
Step 7: Pick an orientation
Prior to driving into the spot your scout selected, you want to discuss what way you want to park the vehicle. Generally most people will end up North / South because after the short drive leaving the beach to go into the dunes you will need to turn North or South to drive parralel to the beach once you are far enough in. This orientation is find but beware that on windier days, the sand will rip underneath your vehicle and trailer and can actually erode the sand out from under the tires. This is why some people bring boards to try to prevent this from happening. The nice part about this orientation is your vehicle will provide a nice wind break to setup camp on the leeward side.
On the other hand, if you end up stopping with your rig pointed East (heading into the dunes) it will better protect that shiny paint job of your rig on windier days by having your trailer act as a wind break. The problem with this orientation is that you won't get much shelter from the wind to setup camp and generally if you are pointed Easy, you are driving up hill and so getting started again might be a challenge.
Step 8: Park and Setup Camp
Getting to your spot is a challenge and if you did it right, you hopefully made it before midnight. If by some chance you get stuck on the way there consider sleeping it off where you got stuck (assuming you aren't near the water) and wait till morning. Trying to get unstuck in the dark when you are cold and tired isn't very fun. If when driving in you got some salt water on your rig (usually from a rogue wave) then take some time to rinse down the truck where you got splashed.
If you got to your spot during the day, don't expect to get much peace and quite till around 11pm. Many people will ride out in the dunes during the night pretty much all hours. Best to relax in front of the fire pit (you brought a gass fire pit right?) have a drink, eat some food and look forward to the awesome day your going to have tomorrow!
Click here (SOON) to read on to Part Two of this: Riding the Dunes!