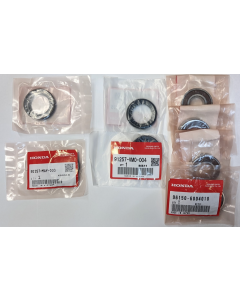
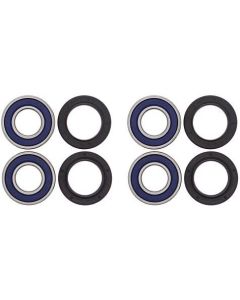
FL350 Control Arm Bushings
$212.00
SKU
DT-FL350-CAB

Replacement FL350 Control Arm Bushings.
Customers Who Bought This Item Also Bought

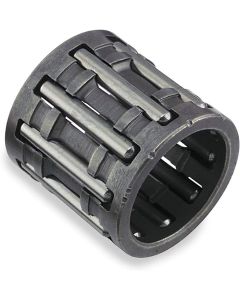
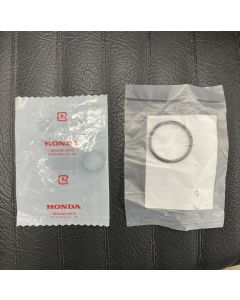
FL350 Rear Carrier Bearing
Starting at $30.00
Replacement FL350 Control Arm Bushings.
Starting at $30.00